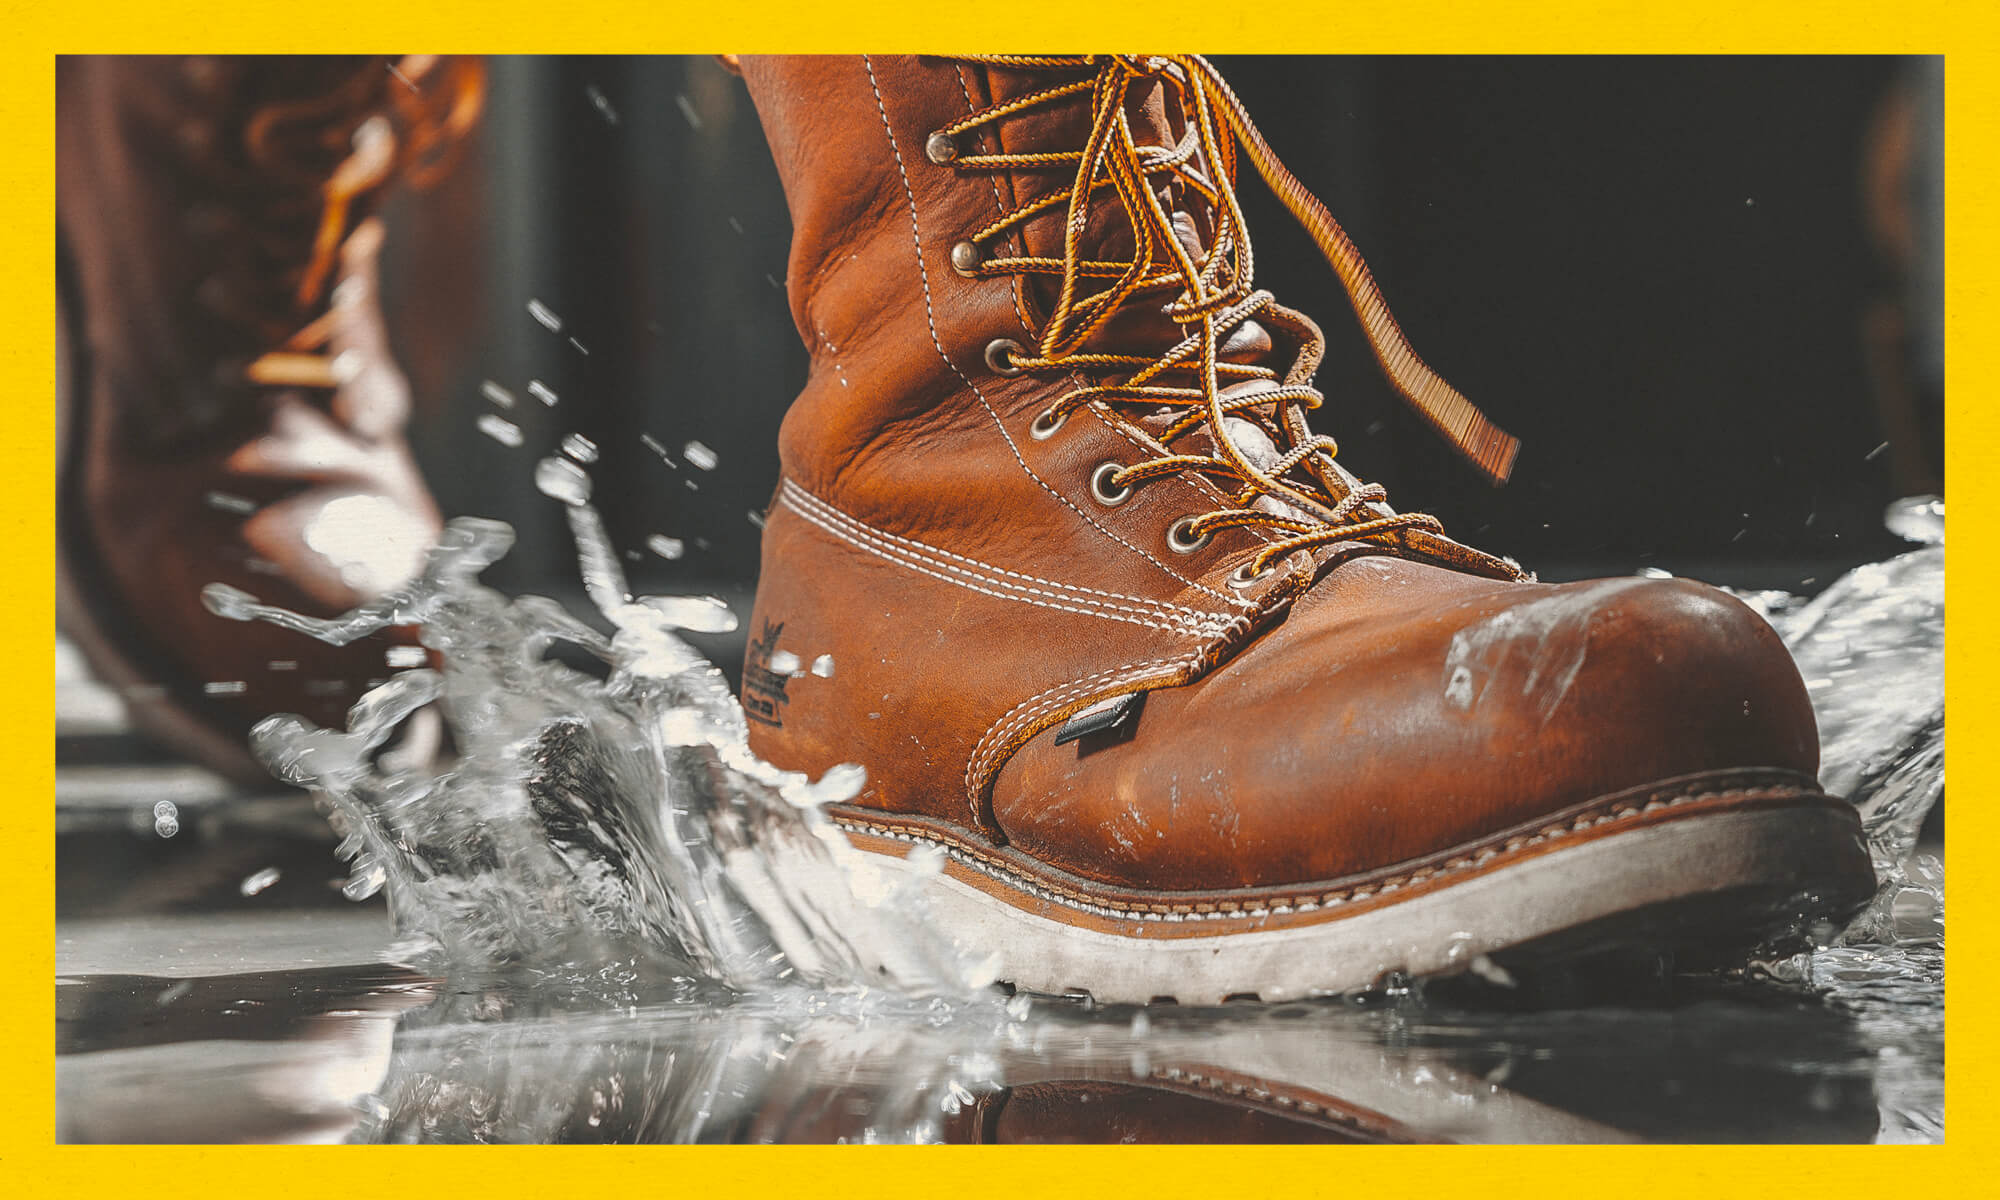
There’s nothing that can ruin your day quicker than cold, wet boots—especially when you’ve got a long day of work ahead. Wet leather boots can not only ruin your mood, but moisture also deteriorates the material and cuts the life of your boots short. If you’re planning to put your Thorogood boots through a lot of outdoor work or know they’re likely to get wet on the job, waterproofing is your first line of defense to help protect your investment. Products like boot wax, waterproofing sprays, and oil treatments provide waterproofing for leather boots, but the method you choose will depend on the material of your boots and how often you wear them.

When Should I Waterproof My Work Boots?
Even if you purchase waterproof work boots, treating your leather regularly helps maintain a good seal. How often you need to waterproof your boots can depend on what you put them through, but when you start to notice that water stops beading on the surface of your boots or if they get really dirty, it’s probably time for a fresh coat.
Waterproofing is also an important part of winterizing your work boots to withstand moisture and salt. If you can plan ahead, warm days in late summer or early fall are great for curing a waterproof application in the sun and getting ahead of the rainy season.
What Products Should I Use to Waterproof My Boots?
Waterproofing for leather boots comes in a few different forms. Be sure to check that the products you choose are intended for the material you’re treating (full-grain leather, suede, or nubuck). Whenever you’re trying a new product, we recommend patch testing it on a small area of your boots first. Here’s a few products that can help waterproof leather boots:
Wax Sealing
Waxing boots is a tried-and-true method for waterproofing. Boot waxes like Atsko Sno-Seal are great for adding a durable finish. Typically made from beeswax, these products need to be warmed for easier application. Use a clean cloth or your hands to work the wax into the leather, then let dry completely and buff off any excess.
Waterproofing Sprays
Spray-on treatments like this silicone-based Boot Waterproofer from Kiwi are quick and easy to apply, but also the least durable option. For hardworking boots, waterproofing spray should be applied every couple of weeks or any time they get very wet. Outside or in a well-ventilated area, spray 1-2 even coats onto all surfaces of your boots, drying completely between layers.
Oil Treatments
Traditionally, oils have been used to condition and protect leather goods. Mineral, neatsfoot, and mink oils like this RedHead Mink Oil Leather Treatment all add a layer of protection on their own or function as a base layer under waxes and sprays. Some contractors skip a trip to the store and try waterproofing their boots with WD-40. Similar to waxes, oils are applied with a clean cloth and massaged into the boots, then air dried completely. Just a heads up, oils will often darken the color of your leather.
Seam Sealers
Seams are the areas most likely to leak in moisture, especially as you break in new boots. To add an extra layer of defense, apply a seam sealer like Gear Aid Seam Grip before your main waterproofing product. These urethane-based adhesives do a great job of keeping water out and reinforcing weak spots while staying flexible. Follow the package instructions and be sure to let each layer dry fully before applying more product.
If you’re just looking for everyday protection to maintain your boots, try something like our water & stain repellent spray-on treatment.
How Do I Waterproof My Leather Boots?
When you’re ready to treat your boots, set yourself up for success by prepping all your materials and a workspace outdoors or in a well-ventilated area. Gloves and respirators are also a good idea while applying chemicals and aerosols.
- Start with a clean, dry canvas – Before applying any waterproofing products, give your boots a thorough cleaning to remove any dirt or build up, remove laces, and let them air dry completely.
- Read the directions – No matter what type of sealant you go with, check out the package directions so you know what you’re getting into. This can also give you a better idea of how long your waterproofing process will take, based on drying time for each product.
- Start with the seams – If you’re going to add seam sealer to your boots, do this first and allow it to fully cure before applying your first layer of waterproofing.
- Treat your boots – Apply 1-2 coats of your waterproofing to all exterior surfaces. Don’t forget to go edge-to-edge, get into the creases, and apply around the tongue and any eyelets or lace hooks.
- Let them dry – Before testing your newly waterproof boots out on the job site, allow them to thoroughly cure in a place that’s warm, dry, and well ventilated. Do not use heating elements like hair dryers to speed up the process, or you risk damaging the leather. If you’re in a hurry, fans can help dry your boots more quickly.
Waterproofing and regular maintenance help keep your boots working longer. If your Thorogood boots have been through the ringer and need some extra TLC, you can also contact our expert craftsmen to learn about repairs and restoration.
